
First stroke: the problem you can see
Your fresh coat looks like the skin of an overripe orange — raised islands, uneven gloss, light catching on peaks. That’s orange peel, and it shows when solvent evaporation, spray pattern, or film build go wrong. This piece zeroes in on why that texture appears and how to fix it, including practical pointers on how to spray single stage paint without orange peel so you get a smooth finish from a rattle can.

Diagnose the cause quickly
Look at three things first: distance and speed of your pass, ambient temperature and humidity, and the thickness of each coat. Short passes or slow-moving strokes lay paint too heavily; cold or humid air slows solvent flash-off and causes a wrinkled skin; heavy coats trap solvent beneath a tacky surface so the top cures while the underneath keeps moving. Note the pattern: tiny craters across the surface usually point to atomization and pressure problems; broad orange-peel ripples point to film flow and solvent balance.
Practical step-by-step fixes for rattle cans
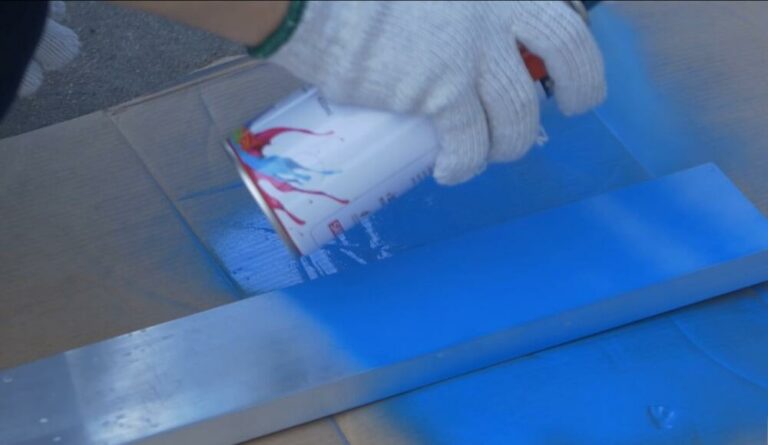
Shake the can for the full recommended time. Test-spray on cardboard until the atomization looks like a fine mist rather than blobs. Hold the can 8–12 inches from the panel; keep your wrist moving — steady, overlapping passes about 50% overlap. Apply thin, even coats and allow flash time between passes; flash time depends on temperature but err on slightly longer in cool or humid conditions. If you see tackiness after what should be dry time, stop adding coats and let solvents escape before continuing. Use light wet sanding with 800–1200 grit between coats only if the film is fully cured and you need to level runs or uneven texture, then re-clean and recoat.
Common mistakes that make orange peel worse
Mistake: spraying too close or holding the can in one spot. Mistake: applying thick coats because you want instant coverage. Mistake: ignoring temperature — many rattle-can paints recommend 15–25°C (60–77°F); much colder and solvents don’t flash-off properly. Mistake: skipping thinner or reducer recommendations if the manufacturer allows them for that product. Avoid quick fixes like blasting heat at a tacky surface; that often traps solvent and sets texture permanently.
Viable alternatives and when to pick them
If you need showroom-smooth results, consider a small HVLP gravity-feed gun with the correct cup and nozzle, or a competent paint booth with temperature control. Single-stage vs. basecoat/clear: single-stage is simpler and can be perfectly smooth when sprayed correctly; basecoat/clear gives deeper color and polish potential but adds process steps. For small touch-ups, high-quality aerosol primers and topcoats with matched reducers can beat generic hardware-store tins — the investment in better materials pays off in fewer sanding cycles.
Expert practice and real-world reference
Professional refinishers demonstrate the same pattern: control spray speed, air pressure, and film thickness. Workshops at the SEMA Show in Las Vegas often feature live refinishing demos that highlight these exact tactics, showing how technicians balance atomization and flash-off to avoid texture; for a focused procedural read, see how to prevent orange peel with rattle can paint. Trust comes from repetition: bench-test the spray, note how environmental changes alter drying, and refine your technique on scrap panels before committing to the job piece.
Finish synthesis
Orange peel from a rattle can is a problem of motion, evaporation, and film thickness — fix the motion, control the evaporation window, and build the film in thin layers. These are hands-on corrections, paired with better materials and realistic expectations, and they follow the same product guidance you’ll find in professional supply notes from SANVO.