
Why the right bag changes your shoot
I travel light but I travel deliberately — and the bag I pick decides how fast I can work, how long I stay comfortable, and whether a sudden rainstorm ruins a lens. Think of the bag as an extension of your workflow: reach, protection, and carry comfort. If you’re swapping lenses on a cliffside or sprinting between gates, a well-designed camera gear bag should feel like second nature. Start by asking what you need immediate access to, what must be padded, and how long you’ll carry it each day.
What to test before you buy — field checks that matter
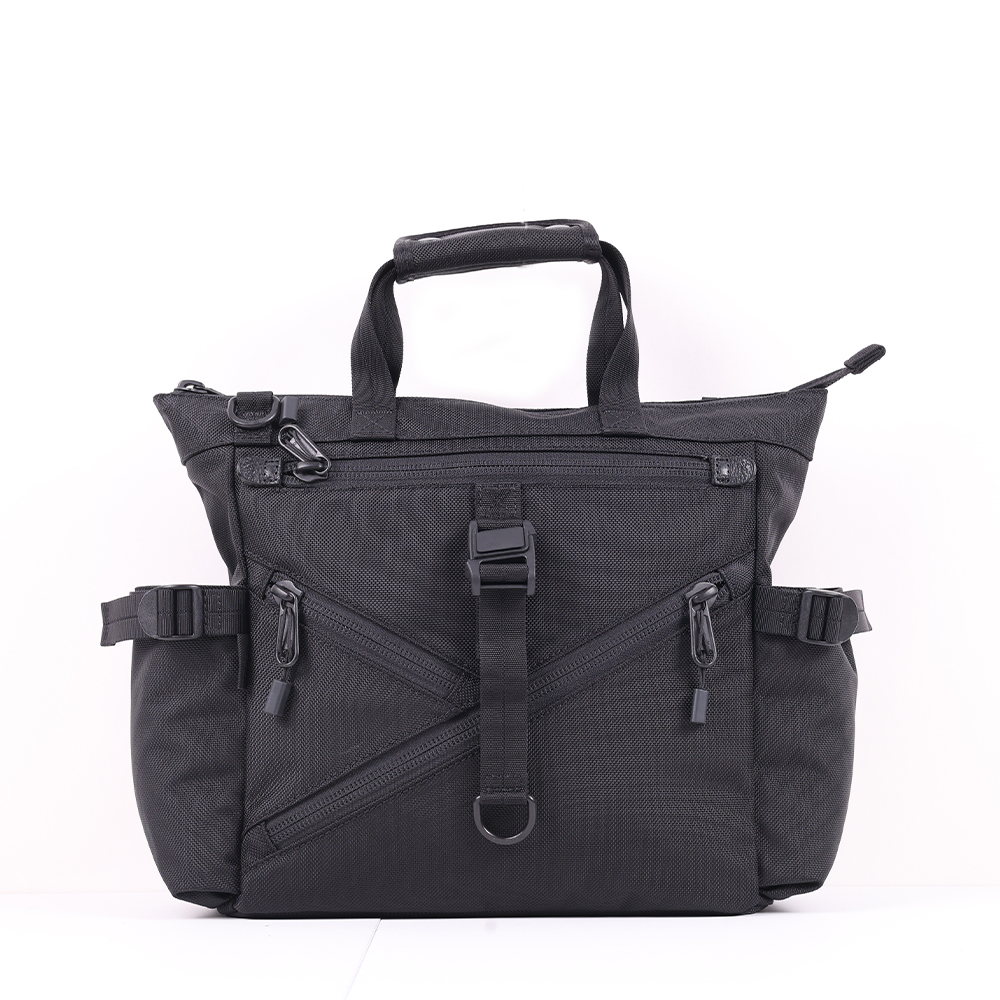
Take a demo bag on a real trip. I mean a long walk with loaded gear: mirrorless body, two lenses, a flash, and a water bottle. Watch for pressure points, zipper smoothness, and how gear shifts when you bend or jog. Photographers who shoot landscapes often test bags on routes like Yosemite National Park to simulate rough terrain and unpredictable weather; that kind of field run will show whether compartments stay put and straps lock in place. If you want a practical reference while testing, compare your findings against this detailed bag for camera equipment — use it as a benchmark for padding, divider layout, and quick-access pockets. Bring a scale: measured weight with gear tells you if a bag will tire you out midday.
Features that actually help — not the ones that only sound good
Look for three concrete things: structured protection, intuitive organization, and comfortable load transfer. Structured protection means firm padding and reinforced bases so lenses don’t touch under pressure. Organizational sense means vertical dividers you can reconfigure quickly; flaps that hide small items like memory cards; and an external pocket for a quick phone grab. Comfortable load transfer is a padded back panel, a chest strap, and a removable waist strap if you plan longer treks. Materials matter: water-resistant face fabric and YKK-style zippers are practical, breathable back panels prevent sweat, and metal hardware beats flimsy plastic where durability counts.
Common mistakes photographers make
They buy for “capacity” instead of daily practice. Bigger isn’t better if you end up carrying empty space; you’ll slosh around with loose gear. Another mistake: choosing a bag without testing access speed — the one that looks neat on a shelf can slow you by 10–20 seconds when changing lenses. Ignoring weight distribution is a quiet regret — backaches start subtly and compound. Finally, forgetting to secure weather protection; a simple rain cover or integrated flap saves a costly repair after one downpour.
Alternatives and when to pick them
Sling bags give fast access for short urban shoots but can bruise your shoulder on long walks. Inserts let you convert a travel backpack into a camera carrier for multi-use trips. Roller bags work well for airport-heavy itineraries but limit mobility on rough trails. Choose a sling for street work, a backpack for day hikes and diversified kit, and an insert if you already own versatile luggage. Try each style loaded and on foot before deciding.
Checklist to carry on day one
Pack your kit the night before and run this quick checklist: 1) All critical items in padded compartments; 2) One emergency lens cloth and a sealed pouch for electronics; 3) Tripod mounting that locks without fumbling; 4) Balanced load with heavier items close to your spine; 5) Rain protection accessible from the outside. If any step forces you to pause two minutes to fumble, adjust the layout.

A clear closing thought
Pick a bag that answers how you shoot, not what looks impressive on paper. Test it loaded, walk with it where you’ll work, and prioritize protection plus fast access. That practical approach is why seasoned shooters look beyond flashy specs and favor makers who balance thoughtful design with reliable materials — the kind of steady, user-focused performance you can expect from ChangRong.